Fresh and fruity jam – it never fails!
We love raspberries and have a good few canes of both summer and autumn varieties.
The summer raspberries are just about finishing now but already the autumn raspberries are showing signs of ripening.
I try and make as much jam as possible with them as there’s nothing better than opening a jar in the middle of winter and taking in a breath of all their fruity loveliness!
This jam is a little bit different with the addition of peaches. Look out for them in the ‘reduced’ aisle of the supermarket – they’re usually still fine to use. Because the jam uses jam sugar (the one with added pectin) it never fails to set!
Peach Melba Jam
Makes about 5 jars of jam
Takes about 30 minutes with overnight soaking
750g raspberries
750g peaches, halved and stoned, then diced into similar sizes to the raspberries
1200g jam sugar
juice of 2 small lemons
Sterilised jars – wash your jars thoroughly in hot soapy water and rinse. Put upside down on a tea towel lined baking tray and pop in the oven (140C/120C fan/gas 2) for about 10 minutes until completely dry. Keep warm for filling.
For covering use waxed circles and cellophane tops or sterilised jam jar lids (stand in boiling water for a couple of minutes then dry with kitchen paper.
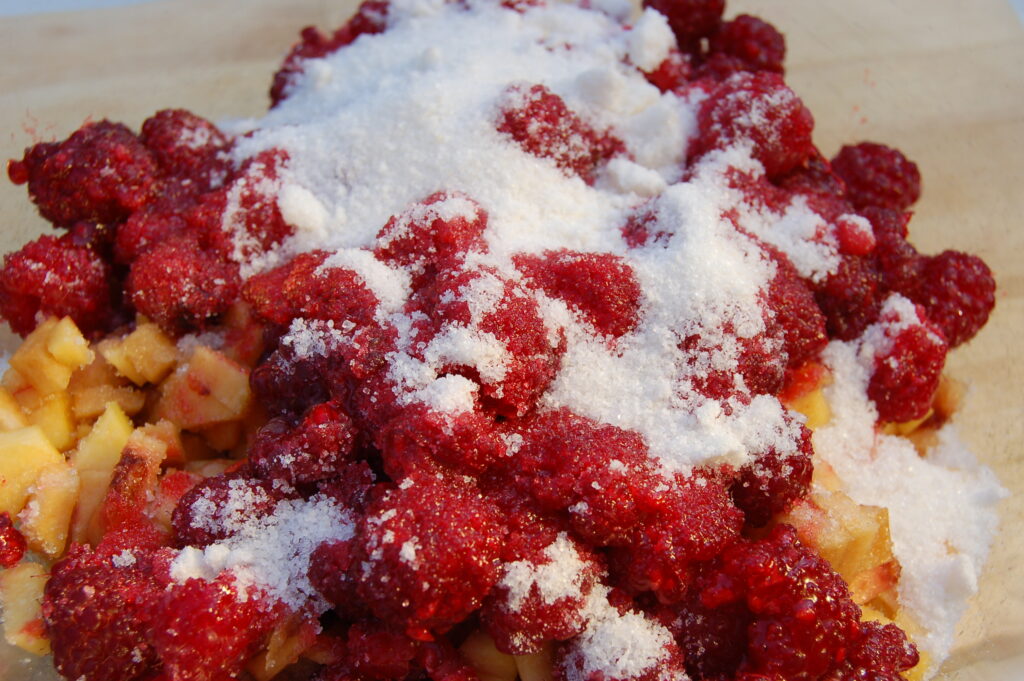
- In a large plastic or glass bowl layer up the raspberries, peaches and jam sugar. Cover, then leave at room temperature for the fruit to start releasing its juices overnight.
-

Layer fruit and sugar
- The next morning pour everything into your jam pan and give it a good stir. Add the lemon juice then put the heat on low and stir until the sugar is dissolved.
- Whilst that’s happening put your jars into the oven to sterilise and pop a small plate in the freezer ready to test for set later
- When you’re sure the sugar is completely dissolved turn the heat up and bring to a boil. Boil for 5 minutes stirring now and again – be careful though as the boiling jam can splash.
-

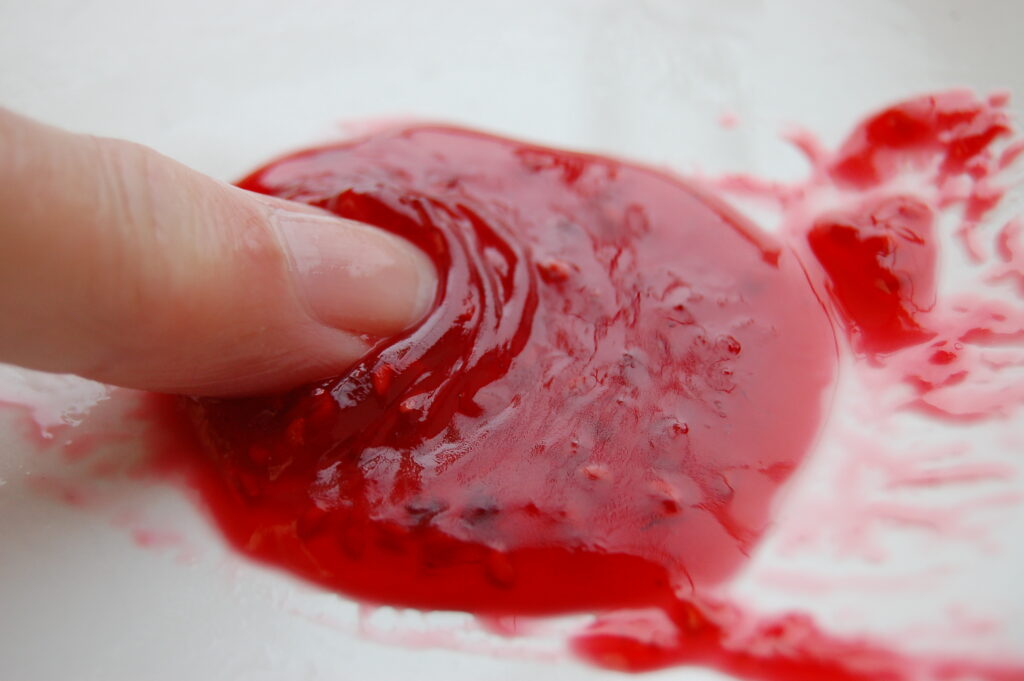
Do the wrinkle test
Now test for set – turn off the heat and spoon a little of the hot jam onto the frozen saucer. Leave it for a minute to cool then run your finger through the jam– if it wrinkles a little, then it’s ready
- If the jam is too runny to wrinkle, return the pan to the heat and boil for another 2 minutes. Test again but make sure you turn off the heat each time until it’s ready.
- Get your jars out of the oven and make sure you’ve got [pouring jugs ready and some kitchen roll for any wiping
- Skim off any scum and discard
- Carefully pour the hot jam into your jars and seal whilst still hot
- Leave to cool then label and store in a cool dry place.
-

Peach Melba jam – fresh and fruity!
Enjoy fresh on some crusty bread or warm through to use with ice cream. It also makes a refreshing change in a Victoria sandwich cake.


